
When a leak hides inside a wall, under a floor, or beneath the yard, there are two technologies specialists reach for first: acoustic listening and thermal imaging. Both are non-invasive, no demolition required to find the leak, but they work on completely different principles, and each has situations where it shines and situations where it struggles. Understanding the difference helps you know what to expect from a detection visit.
Last updated: October 13, 2026
How does acoustic leak detection work?
Water escaping a pressurized pipe creates turbulence, a distinct hissing or whooshing sound that travels along the pipe wall and through the surrounding ground. Acoustic detection uses highly sensitive ground microphones and contact sensors placed on fittings, valves, and surfaces to pick up that sound, amplify it, and filter out background noise. The technician sweeps the area, and the loudest point marks the leak. It works best on pressurized lines and is effective through soil, concrete, and asphalt. Its limits: the pipe must be under pressure, and very small leaks, plastic piping, or noisy environments can make the sound hard to isolate.
How does thermal imaging find water leaks?
An infrared camera does not see water, it sees surface temperature. A hot-water leak leaves a warm trail across a floor or wall; a cold-water leak or an established damp patch shows as a cooler area where evaporation is chilling the surface. The camera paints these differences as a color-mapped image, revealing moisture patterns across walls, ceilings, and floors without touching them. It is especially strong for hot-water lines, underfloor heating, and mapping how far moisture has spread from the source. Its limits: it reads surfaces, not depths, it cannot see through a wall or deep into a slab, and sun-warmed surfaces or ambient temperature swings can mask the signal.
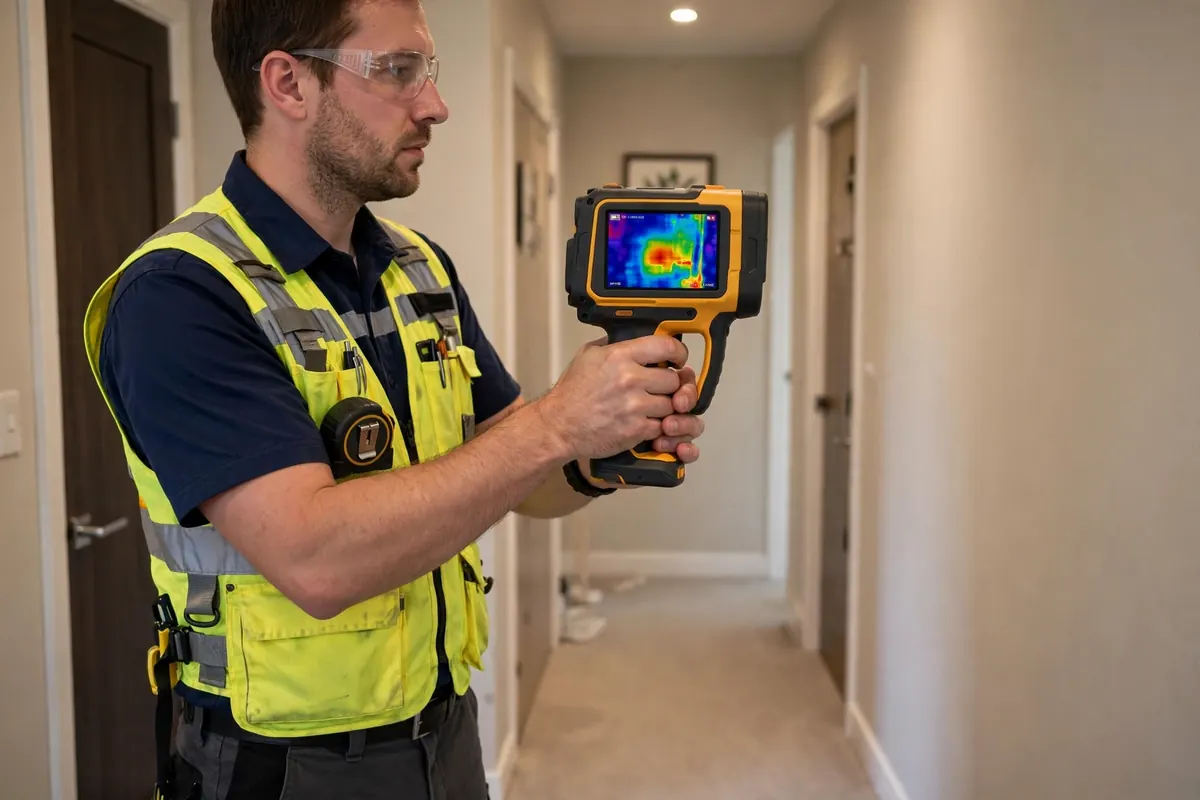
Which is better: acoustic or thermal leak detection?
Neither, on its own, the honest answer is that they answer different questions:
- Acoustic wins for pressurized supply lines, underground mains, and slab leaks, where pinpointing the exact escape point matters most.
- Thermal wins for hot-water lines, moisture spreading across walls and ceilings, and getting a visual map of the full affected area.
- Acoustic struggles with gravity drains (no pressure means no sound), tiny pinhole leaks at low pressure, and noisy job sites.
- Thermal struggles with deep underground leaks, cold-water leaks in thermally stable environments, and surfaces heated by direct sun.
The right method depends on your symptoms: a hissing sound and a climbing meter point toward acoustic; a spreading stain or a warm patch of floor points toward thermal. A good specialist chooses based on what you describe, not based on which tool happens to be in the van.
Can thermal imaging find every water leak?
No, and this is the limitation some providers gloss over. Thermal imaging is a surface-reading technology. A leak buried deep underground, a cold-water leak in a wall that has reached ambient temperature, or moisture behind thick insulation may not produce a readable temperature difference. That is why thermal findings are always confirmed with a moisture meter, and often with acoustic testing, before anyone opens a wall. A thermal image is evidence, not a verdict.
Do professionals use acoustic and thermal imaging together?
Routinely. A common workflow is to scan with the thermal camera first to find the general area of moisture, then use acoustic listening to pinpoint the exact source within it. When both methods agree on the same spot, confidence is high. When they disagree, a good technician keeps investigating, with pressure testing or tracer gas, rather than guessing. That cross-checking is what separates professional detection from a single-tool guess, and it is why the best detection visits often involve more than one technology.
The limitation worth knowing
No detection method is guaranteed. Extreme depth, multiple simultaneous leaks, unusual pipe materials, and site noise can all complicate the picture. A trustworthy specialist will explain what the equipment is showing, where the uncertainty lies, and what the next step would be, instead of promising a pinpoint location before the visit even starts.
If you are dealing with a suspected hidden leak in Alhambra, start with acoustic leak detection for pressurized and underground lines, or ask about a combined acoustic-plus-thermal survey when moisture has already spread. Call +1 626-898-6221, we are open 24 hours.
Related service: Acoustic Leak Detection in Alhambra, CA
How pinpointing changes the job: 5 illustrative examples
The examples below are illustrative. They show how pinpointing typically changes a job. They are not reports of specific customer jobs, and they name no customer, address, date, or price.
1. A warm spot on the floor
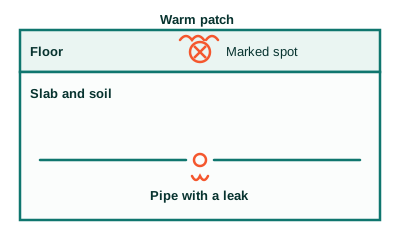
Before: A homeowner notices one warm patch on the floor and a bill that keeps climbing, but no visible water. Without instruments, the only way to find the leak would be to open large areas of flooring and guess.
Method: The technician checks the meter, isolates the hot-water line, then combines thermal imaging with acoustic listening to follow the heat and sound to one point.
After: The leak is marked on the floor at one spot. Any repair opens that spot only, and the rest of the floor stays intact.
2. A stain on the ceiling
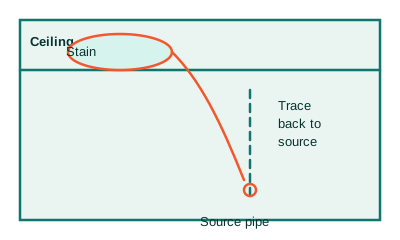
Before: A brown stain spreads across a ceiling, but the pipe above it may run several feet away. Opening the ceiling at the stain alone often misses the source and means opening more drywall later.
Method: The technician maps the damp area with thermal imaging and moisture readings, then checks pressure and nearby lines to trace the water back to its source.
After: The source line is identified and marked. Any opening is made where the leak actually is, not where the stain happens to show.
3. A meter that moves with everything off
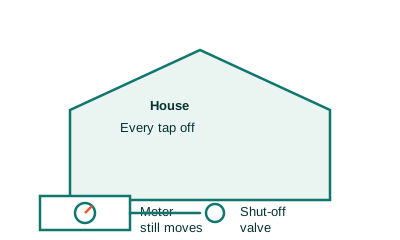
Before: Every tap is off, yet the water meter still moves. That proves water is leaving the system somewhere, but it says nothing about where. Digging or opening walls at this point would be pure guesswork.
Method: The technician runs a timed meter test, then isolates lines one by one with pressure checks to narrow the loss to a single line.
After: The search area shrinks from the whole property to one line. Pinpointing then focuses on that line only, before anything is opened.
4. A pool that keeps losing water
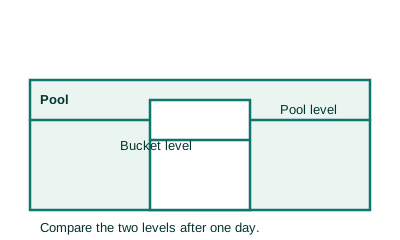
Before: A pool loses water faster than normal, but some loss is normal evaporation. Draining the pool or digging up pipes without a test would waste water and money.
Method: The technician runs a bucket test to separate evaporation from a real leak, then pressure tests each line on its own to find which line loses pressure.
After: If the pool is only evaporating, no repair is needed. If one line fails, the search narrows to that line instead of the whole pool system.
5. Slow drains and a sewer odor
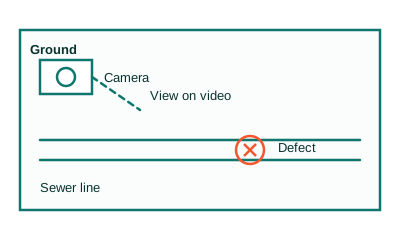
Before: Drains run slow and a sewer odor lingers, but the blockage or break could sit anywhere along the line. Digging to find it would disturb the yard and still might miss the defect.
Method: The technician sends a camera through an existing access point and watches the inside of the line on video, marking where roots, cracks, or offsets appear.
After: The defect is seen on video and its position is known. Any digging happens at that one place, after the cause is already clear.